
It’s been two years since our last tonkotsu ramen creation, so this was long overdue. Here are some notes from our second adventure in making tonkotsu from scratch. Sometimes getting creative with a recipe doesn’t quite work out the way you want it to. The notes below include some basic mistakes — as I write I’m wondering how I could have made such simple ones! But I am sharing these because even if this isn’t the end-all, be-all of ramen recipes, there are lessons here for every aspiring ramen chef.
- Do NOT skim any fat off the broth early on!! Wait until the end and you’ve tasted and really know. If you skim too early you’ll lose that fat for good. Agitation during simmering will recirculate the fats and give the broth a thicker mouthfeel, so if you remove fats too soon you may be removing a vital part of the texture of your tonkotsu.
- Do not keep the broth covered like I did. I wanted to try covered this time for two reasons: (a) I thought that maybe it would make the long 24 hour boil act more like a pressure cooker and lead to a deeper flavor, and (b) what a shame to lose so much volume! But of course covering the pot just trapped all the evaporating water inside which = a more watery than desirable broth (duh!). It’s gelatinous and super porky, but not as thick as tonkotsu should be. Basic, basic mistake. If you leave it uncovered & accidentally over-reduce, you can always add water (plus save on storage space). Alternately, you can save a too-watery broth by boiling for a bit on the back end.
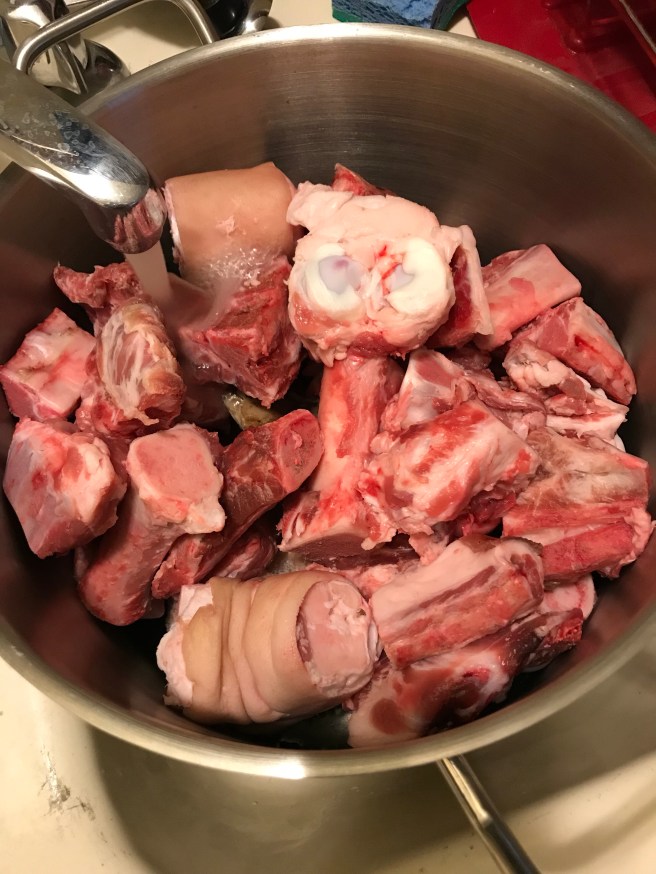
- I will definitely use a small number of trotters again. Have the butcher cut them into large trimmed pieces (see picture below).
- Adding the leek, shiitake, kombu and onion for the last couple of hours added a subtle depth to the broth.
- Try a new tare recipe. We made the same one as last time and it’s time to branch out. But where can one find good tare recipes?
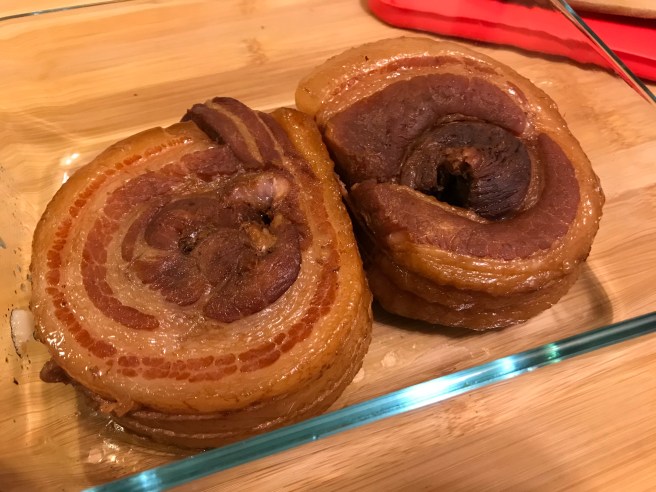
- Marinating the pork belly overnight is a solid approach. But braising for 4 hours was too long for the two x 1-lb sections we had. The fatty parts of the pork belly couldn’t hold together as we sliced it. We’ll do 3.5 hrs next time.
Broth
(recipe modified from Ramen_Lord’s infamous Tonkotsu with Shoyu Tare)
After all was said and done, this variation yielded us just shy of 32 cups of tonkotsu broth. (Post cooking/tasting note: the yield is misleading as the broth will benefit from being reduced & thickened before serving). You will need a very large pot (20 qt at least) for the pork bones and broth, and if possible a second pot of at least 8 or 12 qts for the straining step.
- 10 lbs meaty pork bones – mix of mostly knuckles, necks, 1-2 trotter pieces – ($4/lb)
- 4-1/2 lbs mixed bag of reserved bones (frozen) from a couple months of cooking (e.g., chicken backs, misc chicken bones from wings and legs, oxtail bones, and a hefty pork shoulder bone)
- 1 medium onion, cut in half, skin intact
- 1 large leek, rinsed of any dirt or grit, with dark green end trimmed back ~halfway
- 5 dried shiitake mushrooms
- 4 slices dried kombu
Chashu
(recipe modified from Serious Eats)
- 2 lbs pork belly, we prefer without skin
- 1 cup water
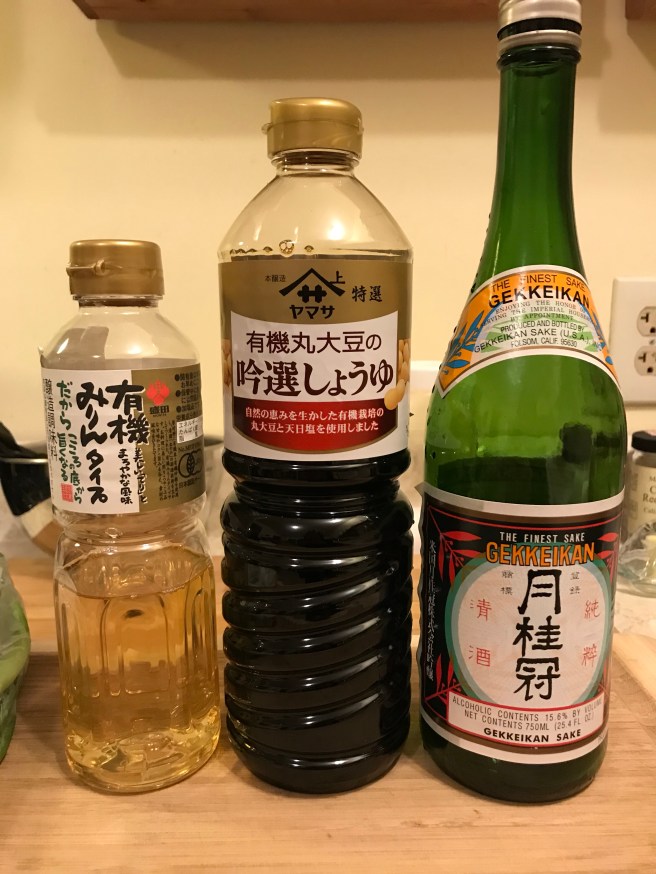
- 1 cup sake
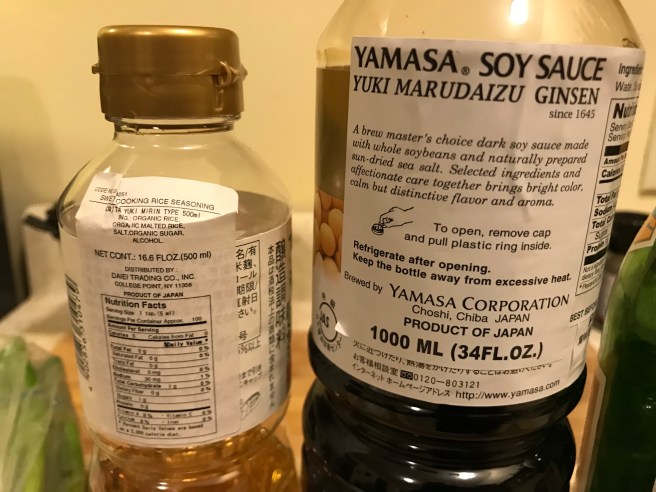
- 1/2 cup soy sauce – yamasa soy sauce, yuki marudaizu ginsen (see picture below)
- 1 cup mirin – daiei norita yuki mirin type (see picture below)
- 1/2 cup granulated white sugar
- 6 scallions
- 6 cloves garlic
- 1 scallion sliced in half, skin intact
- 2″ knob ginger sliced into several wide coins
Friday
- 4pm: Place bones in 20 qt pot and add water to cover. Let sit overnight in the fridge.
Saturday
- 10am: discard water from the night soak & replace with fresh water. It’s a bit unwieldy but overall easier to keep the bones in the pot while you do this.
- Start the blanching step. Bring pot to a boil over high heat. This will take ~25 minutes.
- Reduce to a simmer and maintain for 30 minutes. Stay nearby, watching progress & removing scum as it rises to the surface. At first there will not be much but after 15-20 minutes there will be a lot. Continue skimming the surface until little to no scum appears.
- Turn off the heat & let sit for ~10 minutes. When the pot is easier to handle, place the lid on (leaving a slit at the edge) and carefully pour the water into the sink.
- Taking some care, remove the bones from the pot into bowls or standing strainers.
- Give the pot a good scrub with some soap to remove any residue left over from the blanching step. Rinse well, and then set at the edge of the sink.
- Under running water, rub each bone by hand (I used food-safe gloves) to remove any coagulated blood and scummy residue. Place each cleaned bone into the clean pot and continue with all bone pieces.
- The bones are now ready for the long simmer. Add fresh water to cover the bones by 2-3″. Return to the stove and bring to a boil over high heat.
- By 12pm: once the water reaches a boil, immediately reduce to a simmer. COVER. It may take a few tweaks with your range to get it to a good steady simmer.
-
- This simmer will continue for 24 hours, until noon Sunday.
- Gently stir the bones a few times during this time to help with agitation.
- Check every so often to make sure you are maintaining a good simmer.
- 10pm: prepare marinade for chashu pork on the stove. Over low heat, dissolve sugar with liquid ingredients (water, sake, soy sauce, mirin).
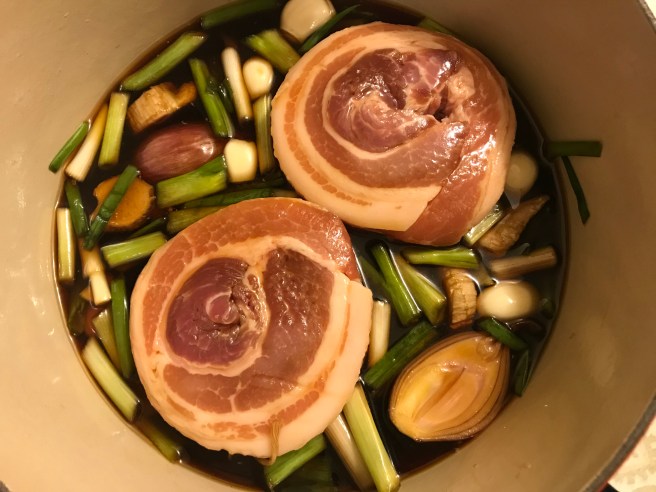
- Pour marinade into an unheated 6 qt cast iron dutch oven and add vegetables (garlic, ginger, kombu, scallions, shallot). Move to the fridge to cool for about 20 minutes. Roll pork belly into a roulade & secure using kitchen twine. Once the marinade is cool add the pork belly and let sit overnight in the fridge. Don’t worry – the pork belly will not be completely submerged.
Sunday
- 9am: turn the pork belly once-over in the pot to get the other side marinating. Keep refrigerated.
- As a first step for the Tare, add four kombu strips with warm water to cover (~2 cups) in an airtight container. Set aside & store in the fridge until you are ready to make the Shoyu Tare.
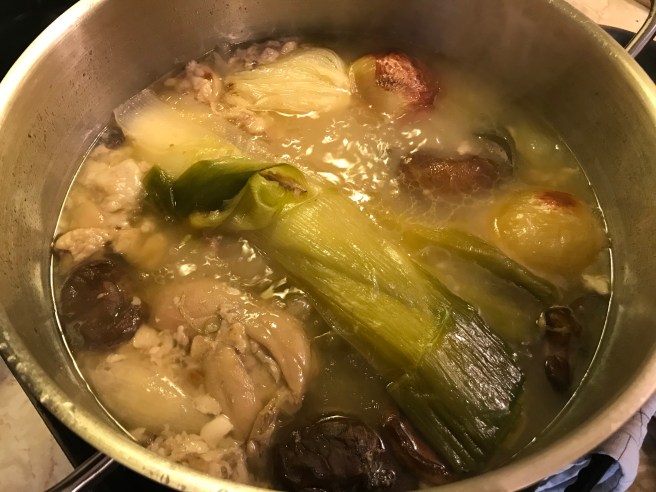
- 10am (or 2 hours before you stop simmering the bones): to the tonkotsu broth add the leek, onion, dried shiitakes, and kombu. Return to a simmer and keep UNCOVERED, maintaining a simmer for another 2 hours.
-
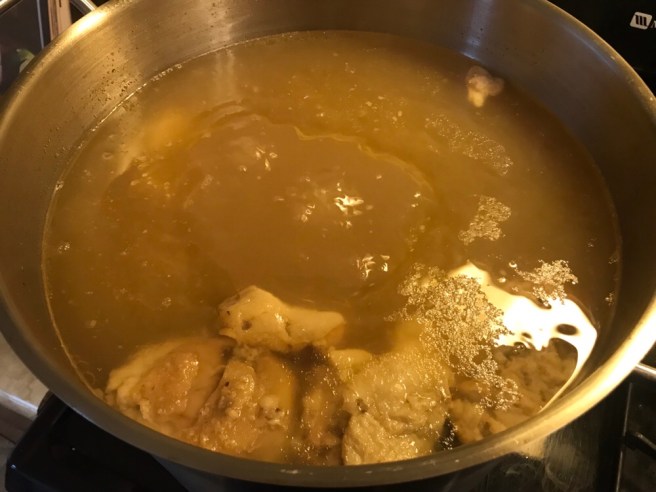
- At this point there is likely a significant accumulation of fat on the surface. I skimmed about 1/4″ off and discarded. This was a mistake!
- Remove the dutch oven with pork belly from the fridge and bring to room temperature. After about 30 minutes, set the pot into a cool oven and set the temp to 275F. Set a timer for 3.5 hours. Turn the pork after 2 hours.
- At about 12pm, the long haul is over for the tonkotsu broth. It has now simmered for 24 hours. Turn off the heat.
- The next step is laborious but necessary. The straining step removes all bone pieces and disintegrated bone bits, vegetables, and bits of gristle that have come apart in the broth over the last 24 hours. I strain my tonkotsu twice: first- coarse, second- fine. You may need to get creative with the kitchen tools you have on-hand because you will be processing a lot of liquid.
-
- 6A: set a mesh strainer over a large heat-proof bowl. Remove all the bones and vegetables from the broth with a large spider skimmer, dropping each skimmer spoonful into the strainer. Let the bones drip before disposing of them in the trash. (Quite a bit of broth can be saved by letting these drip or by giving the strainer a couple good shakes over the bowl; it would be such a shame to lose 1-2 cups of broth after spending your whole weekend on this!). Keep using the spider skimmer until you have removed as many of the larger & smaller broken bone pieces as possible. When you are done discarding bones, give your mesh strainer a rinse and pour the liquid that accumulated in the bowl back into the pot.
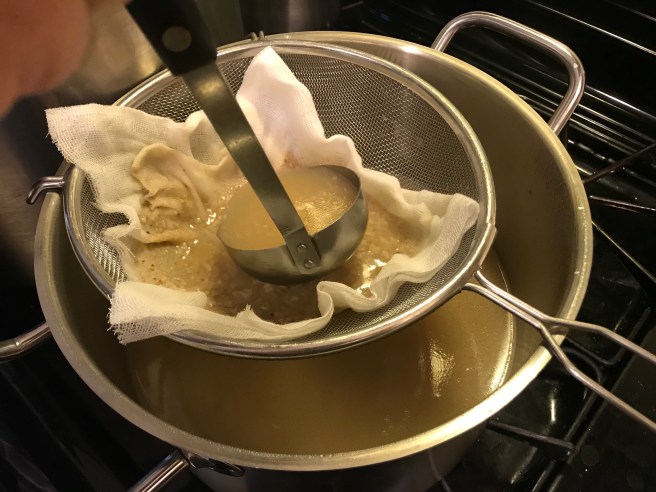
- 6B: this is when an empty ~8 qt or ~12 qt pot can come in handy. Place a double (folded) layer of fine cheese cloth into the mesh strainer and then set over the 8 qt pot. We use this kind of cheese cloth. Strain ladles of the broth through the cheese cloth. You will see small bits of bone, meat, and other silt and gristle accumulate in the cloth. The broth below will be smooth and refined.
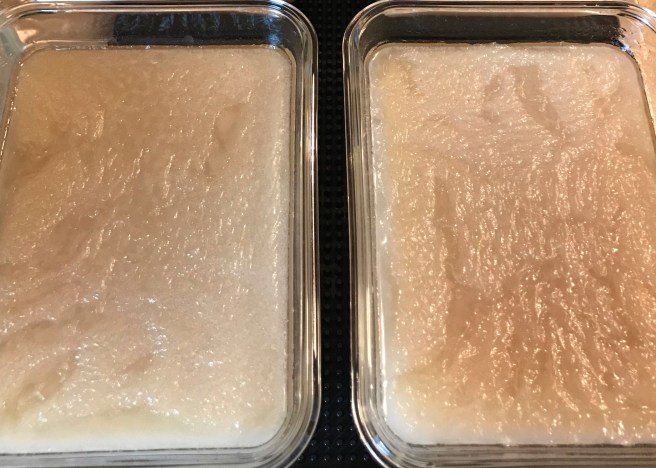
- When you are done, you can marvel at the glorious creation before you. Then portion off the broth into air tight containers, freezing & labeling what you don’t plan on using in the next five days.
- We estimated about 2 cups of broth per bowl of ramen.
- 3pm: at this point the Chashu should be done. Check for doneness; the four hours of cooking should yield very tender pork belly. Remove from the marinade & refrigerate until ready to assemble your ramen.
- 6pm: prepare the Shoyu Tare per Ramen_Lord‘s recipe, or another tare of your choice. Prepare toppings, such as buttered corn and sliced fresh scallions.
- Compose your bowl, serve, and slurp!
Prep Photos


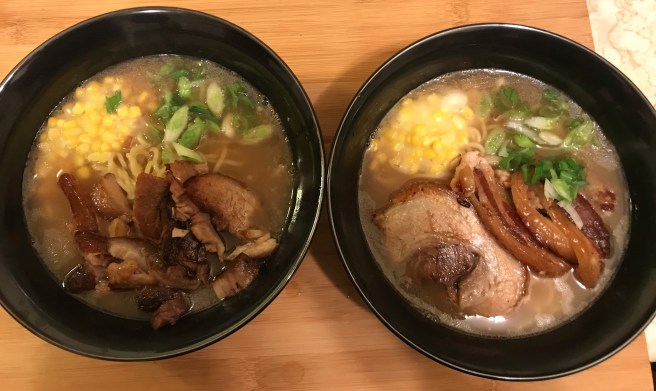

The picture of them ramen bowl at the end makes it all worth it! Looks beautiful as I am sure tastes delicious! It takes a real dedication! Thank you!
LikeLiked by 1 person
Thank you MM for the kind words! Ramen certainly takes dedication….
LikeLike