
We have a mild obsession with Tonkotsu ramen. A few months back, we made our first ramen broth at home using the David Chang/Momofuku recipe – the one from his book, not online or Lucky Peach, which calls for 5 lbs meaty pork bones and 4 lbs chicken. After a weekend of boiling bones and roasting chicken backs, and cleaning an endless stream of dishes, it was a let-down. It didn’t have anything special going for it; it just sort of tasted like chicken, and the veggies were far too prominent. The tare that went along with it was just sort of fine, but seemed only to exist to mask the inadequacy of the broth, as opposed to enhancing it or adding another dimension to the bowl as a solid tare should do. I’m glad we tried it, but we won’t be making that again.
But that experience brought with it a clarity of vision. We wanted to go back to square one and simply make a broth based on one constant: pork. We thought, if we can’t find a recipe for it, we’ll adjust and tweak a solid basic ramen broth recipe by substituting only pork bones.
Fast forward to the results of our tonkotsu recipe search, and our discovery of a post on r/ramen by Ramen_Lord. This was a legitimate ramen enthusiast with a solid recipe and write-up, and it only used pork. We were tempted to try Kenji’s Tonkotsu (of Serious Eats fame), but wanted a purer broth to start, one without the vegetables. Remember, we were scarred from the experience of David Chang and wanted as few variables as possible.
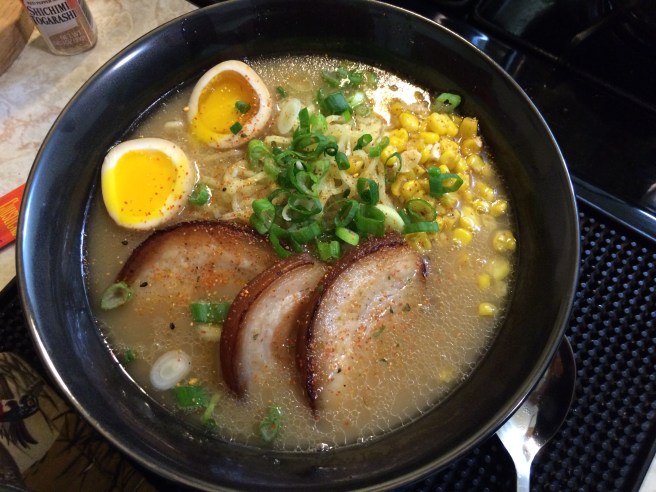
What follows is the result of our journey this past weekend making u/Ramen_Lord’s “Grandaddy” of them all, 18-hour homemade Tonkotsu with Shoyu Tare. The broth that resulted was so porky, so milky, so smooth, so rich. And the shoyu tare with kombu/niboshi/bonito blew us away. We are forever indebted to you, Ramen_Lord!
The Recipes
BROTH
Cooking Notes
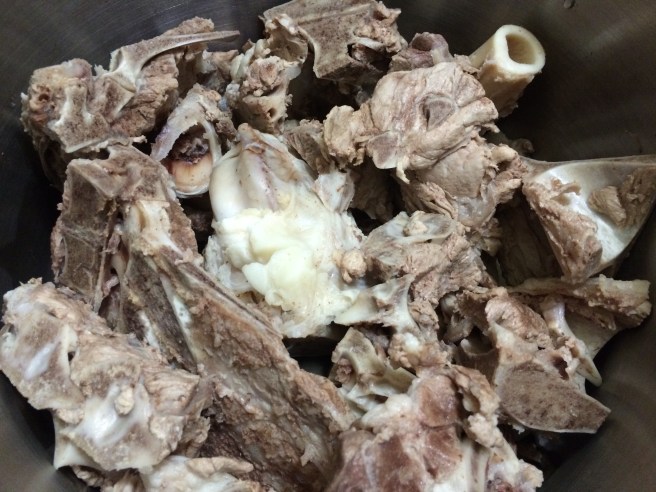
- We used 9 lbs total of meaty pork neck and femur bones. The meat was $3/lb, ordered in advance and ready in about 9 days. Femurs must be at a real premium, because although we asked for a mix of half neck bones and half femurs, I only counted two femurs in the bunch.
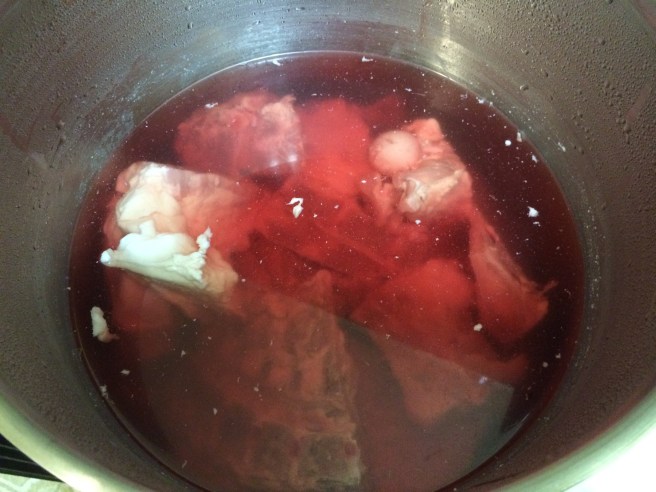
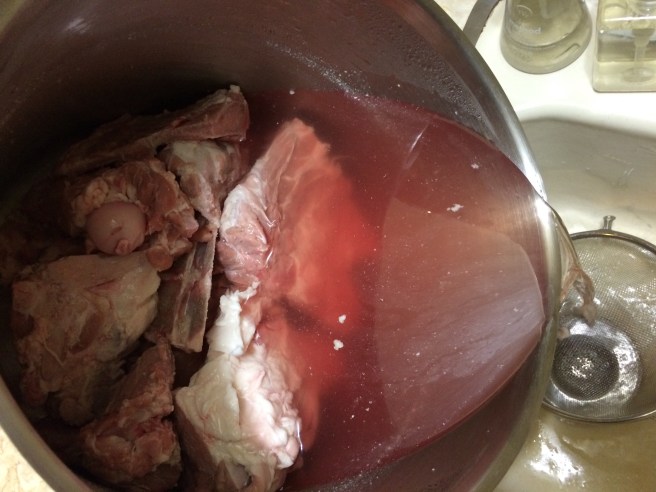
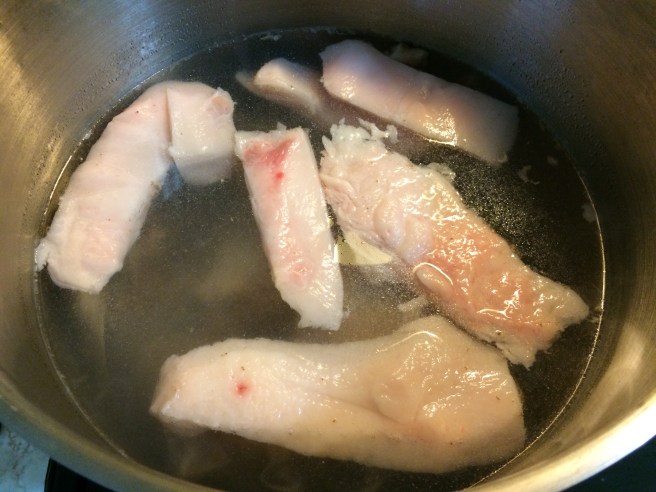
- We did a 16-hour cold water soak in the fridge before blanching, with one water change a little bit after the mid-way point.
- There was less dark matter and coagulated blood to clean within the bones than I had expected to encounter, especially since most of the descriptions of this step had called for using chopsticks (which I imagine would mean poking & picking at veins and such). The majority of the cleaning was simply rubbing away the coagulated material. Rinsing under cold running water didn’t help loosen much.
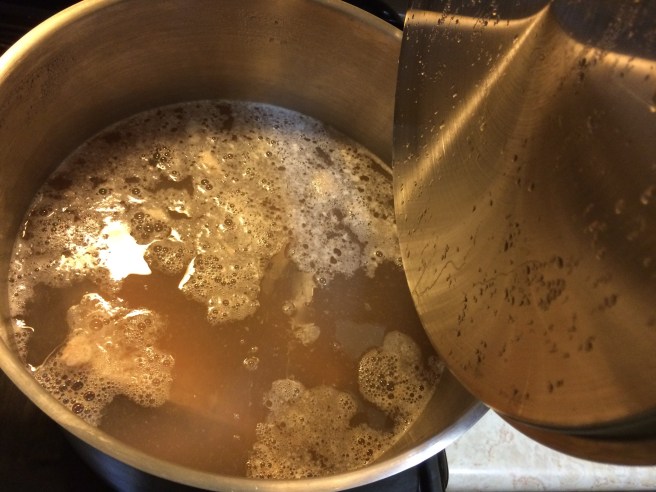
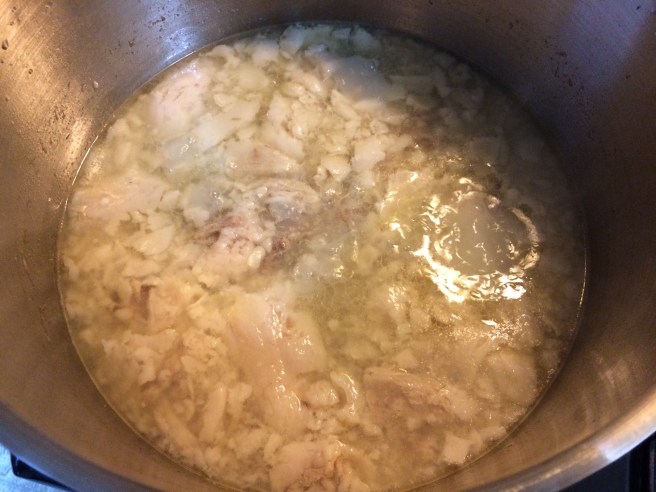
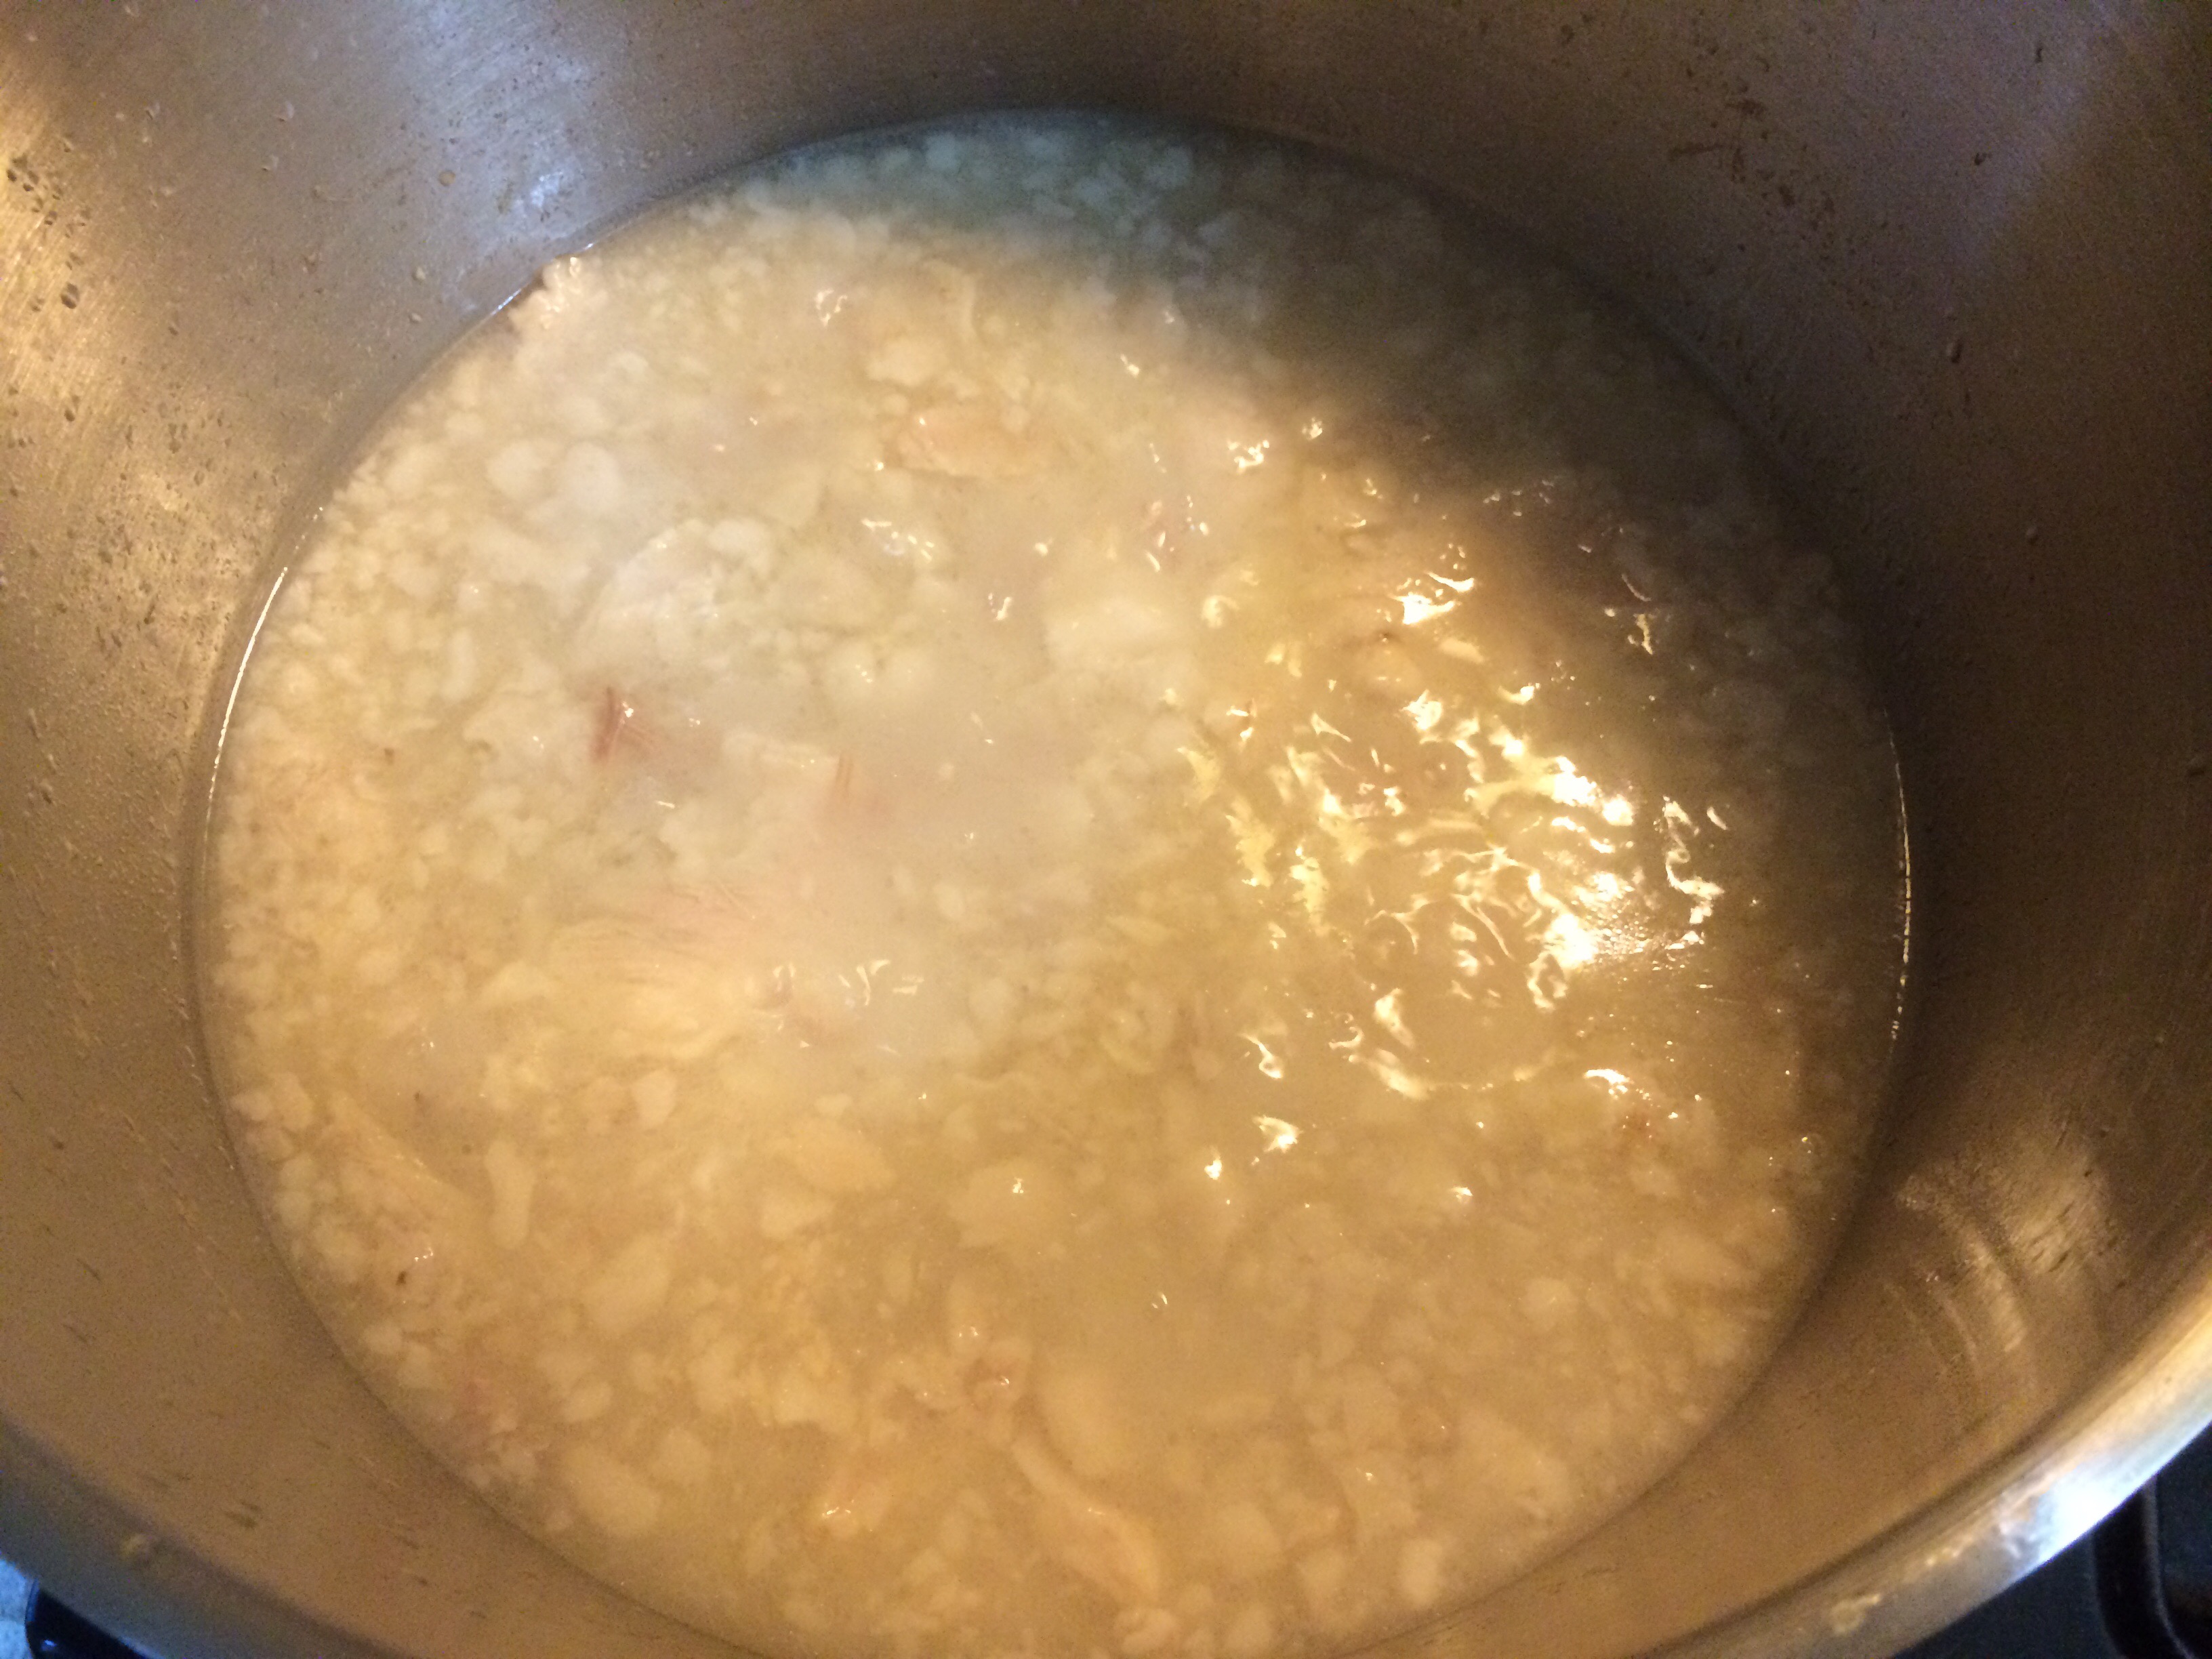
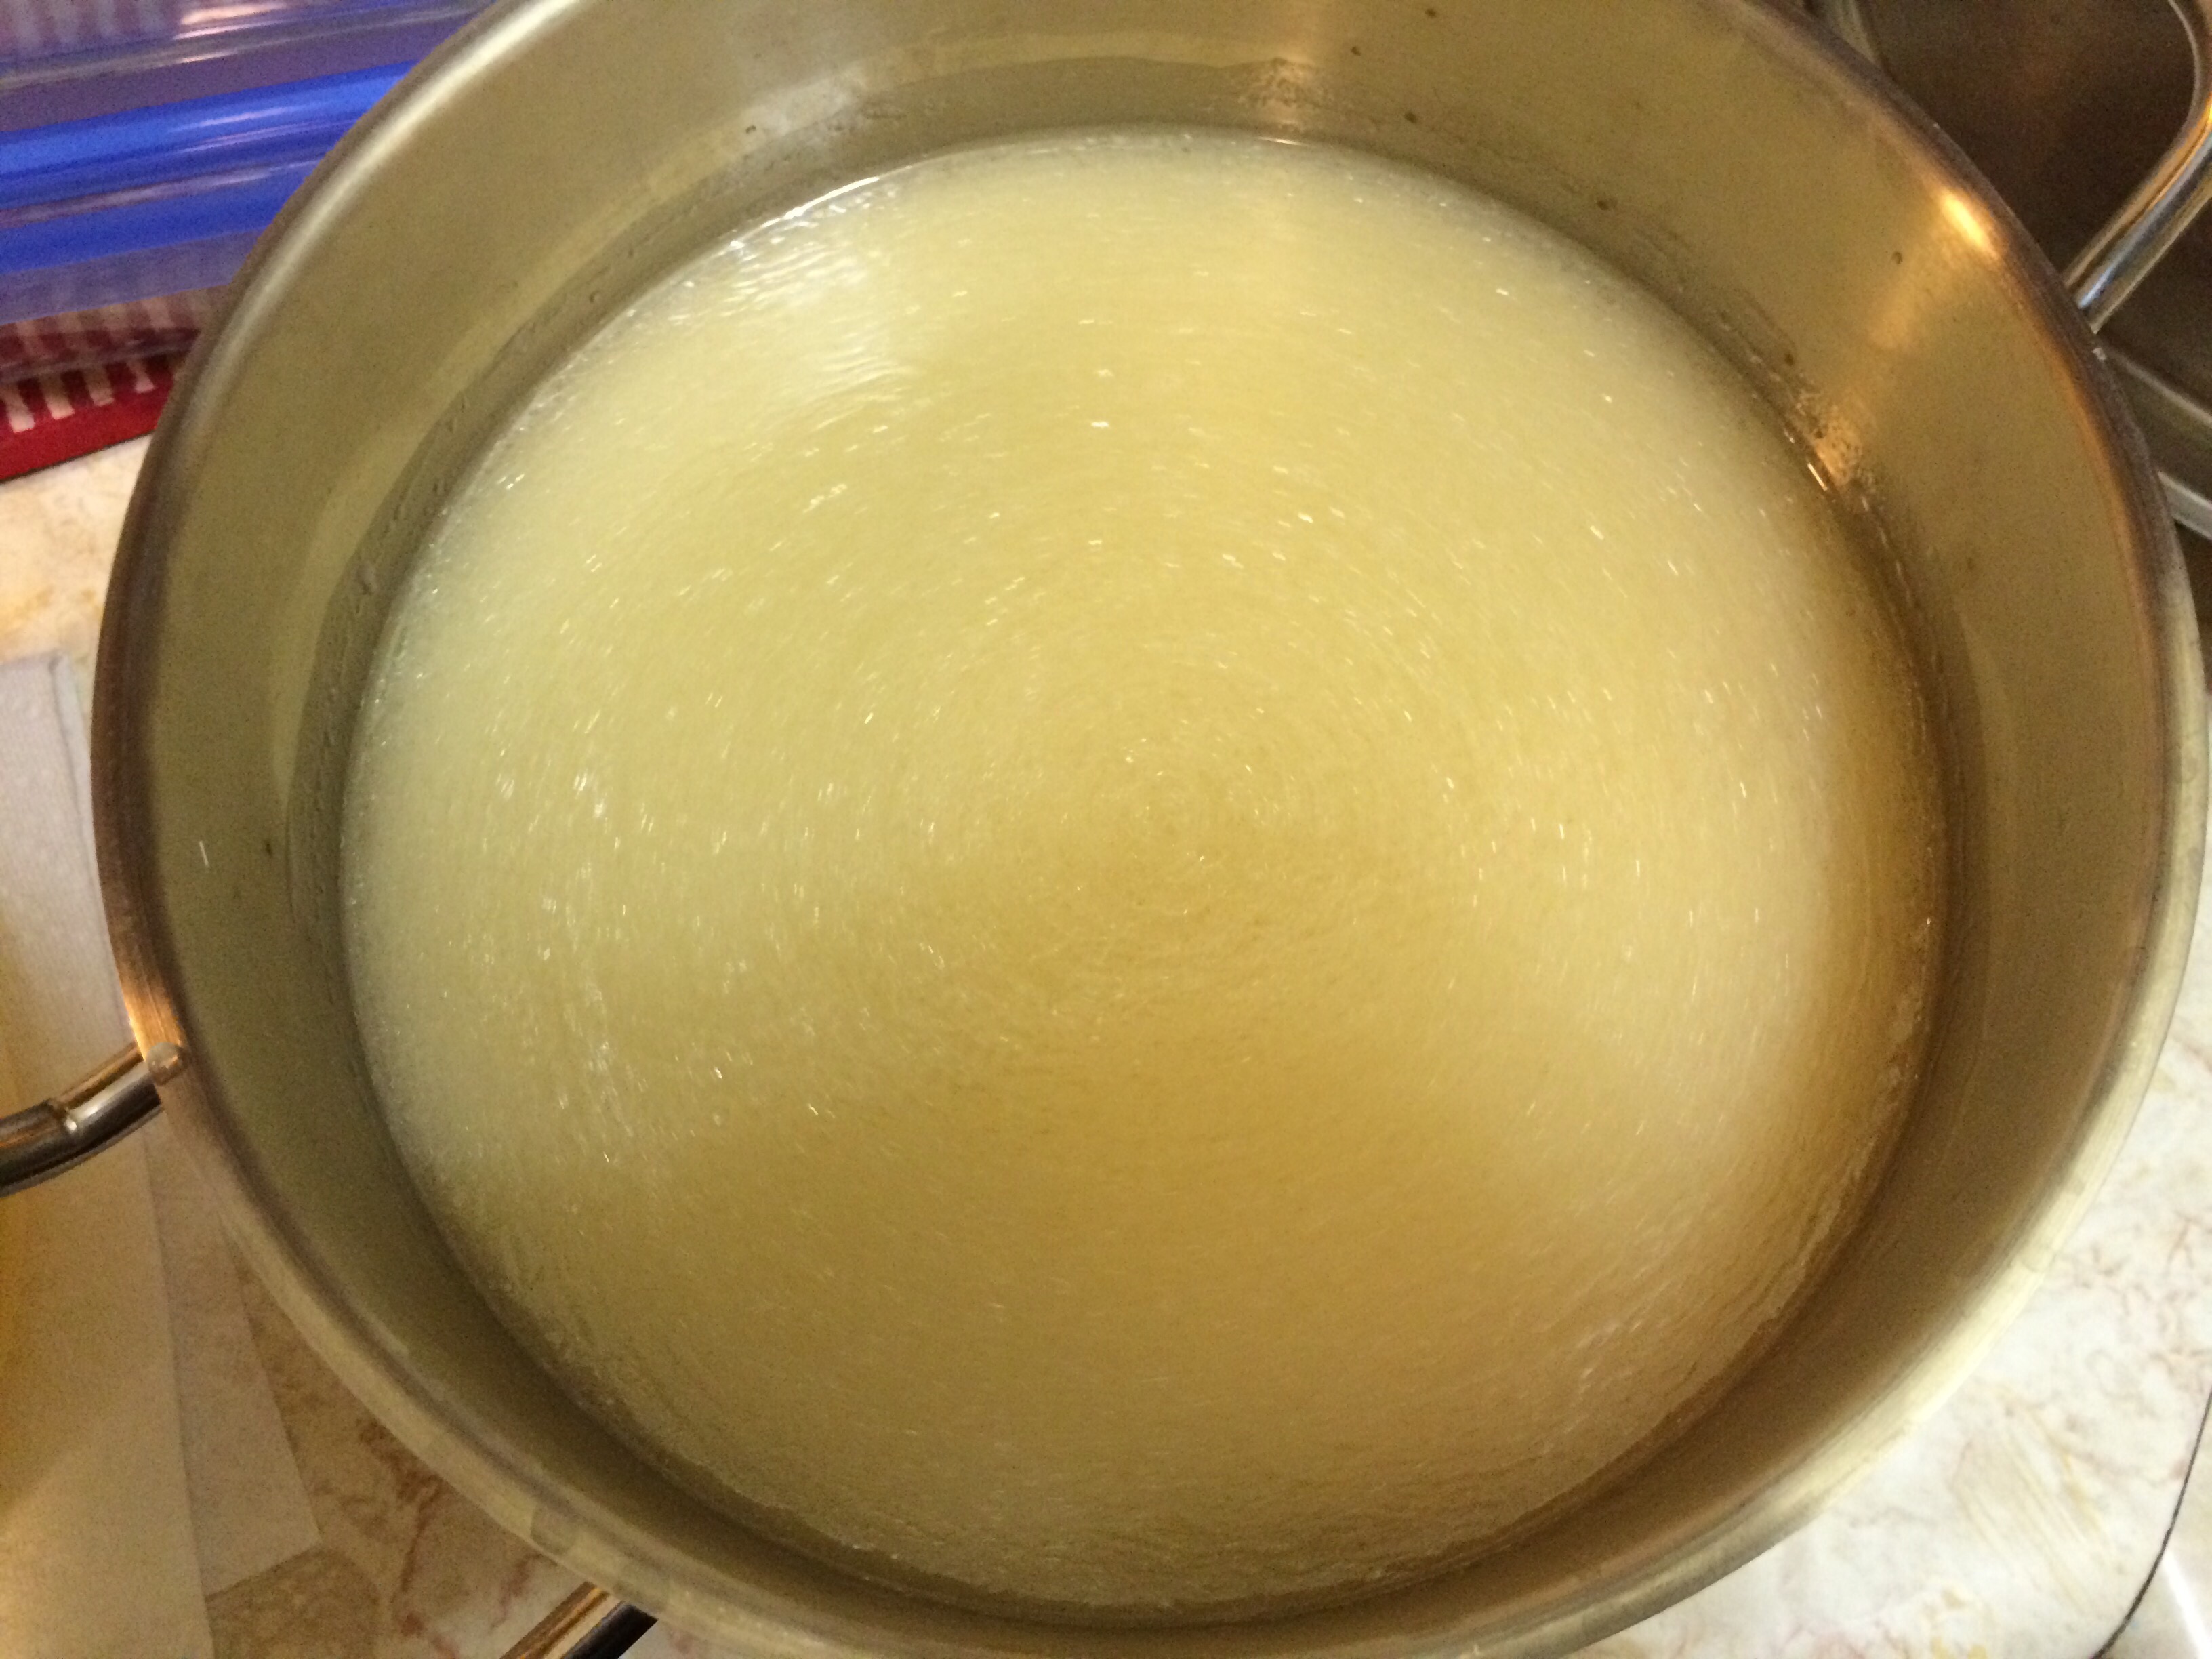
- The bones were boiled at a pretty steady boil for a total of 15 hours, and the pot was covered the whole time. We wanted to go longer, but our schedules just wouldn’t allow it. During the boil we only added ~6 cups of water.
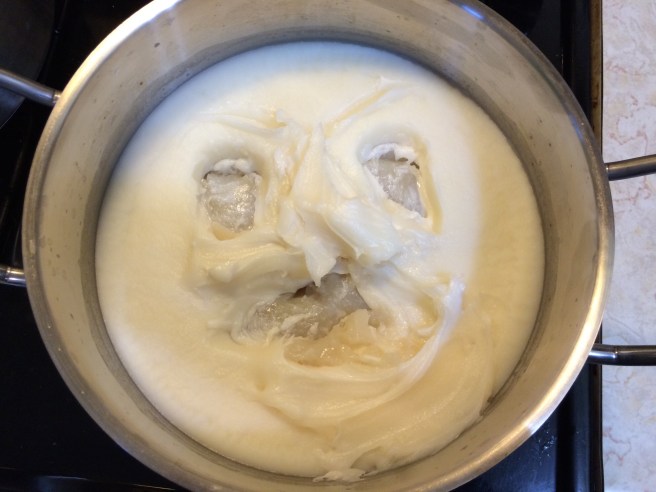
- After straining and chilling overnight, there was a ridiculously thick layer of solid lard (I’d reckon about 2″). We tried agitating the broth the next day to re-combine, but as soon as we slowed the boil to a simmer it would separate and come back to the surface. We reserved this and froze it for use when we need some good pork lard.
- The recipe resulted in broth enough for 8 large bowls of ramen.
Process Photos


TARE
Cooking Notes
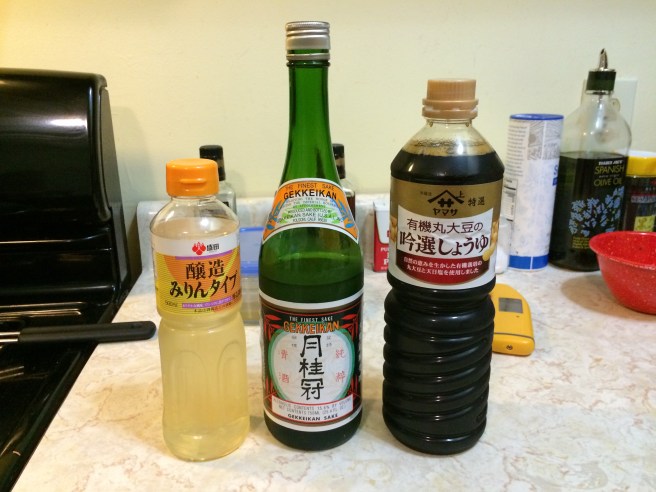
- We halved the recipe, and based on the quantities, ended up with exactly a scant 2/3 cup of each the soy base and the fish base. So we combined all of both. To that, we added 1 large pinch of David’s kosher salt.
- Kombu is a popular source of Glutamate in Japanese cooking, which provides the umami or savory taste in many dishes. I won’t go into too much detail here, but check out these links for some further reading on the subject. We get our kombu from the Atlantic Holdfast Seaweed Company in Penobscot Bay, Maine.
- Japanese Seaweed, Kombu Seaweed, and Umami
- Umami Nation: Kombu Dashi Smackdown (note: we do not have a sous vide machine, but rather soaked the kombu overnight in cold water as Ramen_Lord suggests)
- Kelp Wanted
- What is Umami?
- Anchovies and Sardines are apparently mis-translated and roughly (?) interchangeable. There are also multiple sizes of these dried fish, ranging from the smallest (milder in flavor) to the largest (more bold flavor). A size of dried niboshi is not specified, so we went with one that was easier to clean, and closer to the other pictures and descriptions we’d seen online. If you have a cat, they’ll love these as a little snack.
- The dried shaved bonito smelled smokey delicious right out of the bag. Highly recommend this version if you can find it.
Process Photos


TOPPINGS
- Pork Chashu, sliced and seared
- 12-hour Ajitsuke Tamago (7-minute egg; any less and I find they are impossible to peel, chilled or not)
- Corn and garlic sautéed in salty bacon fat for good measure
- Roughly diced scallions
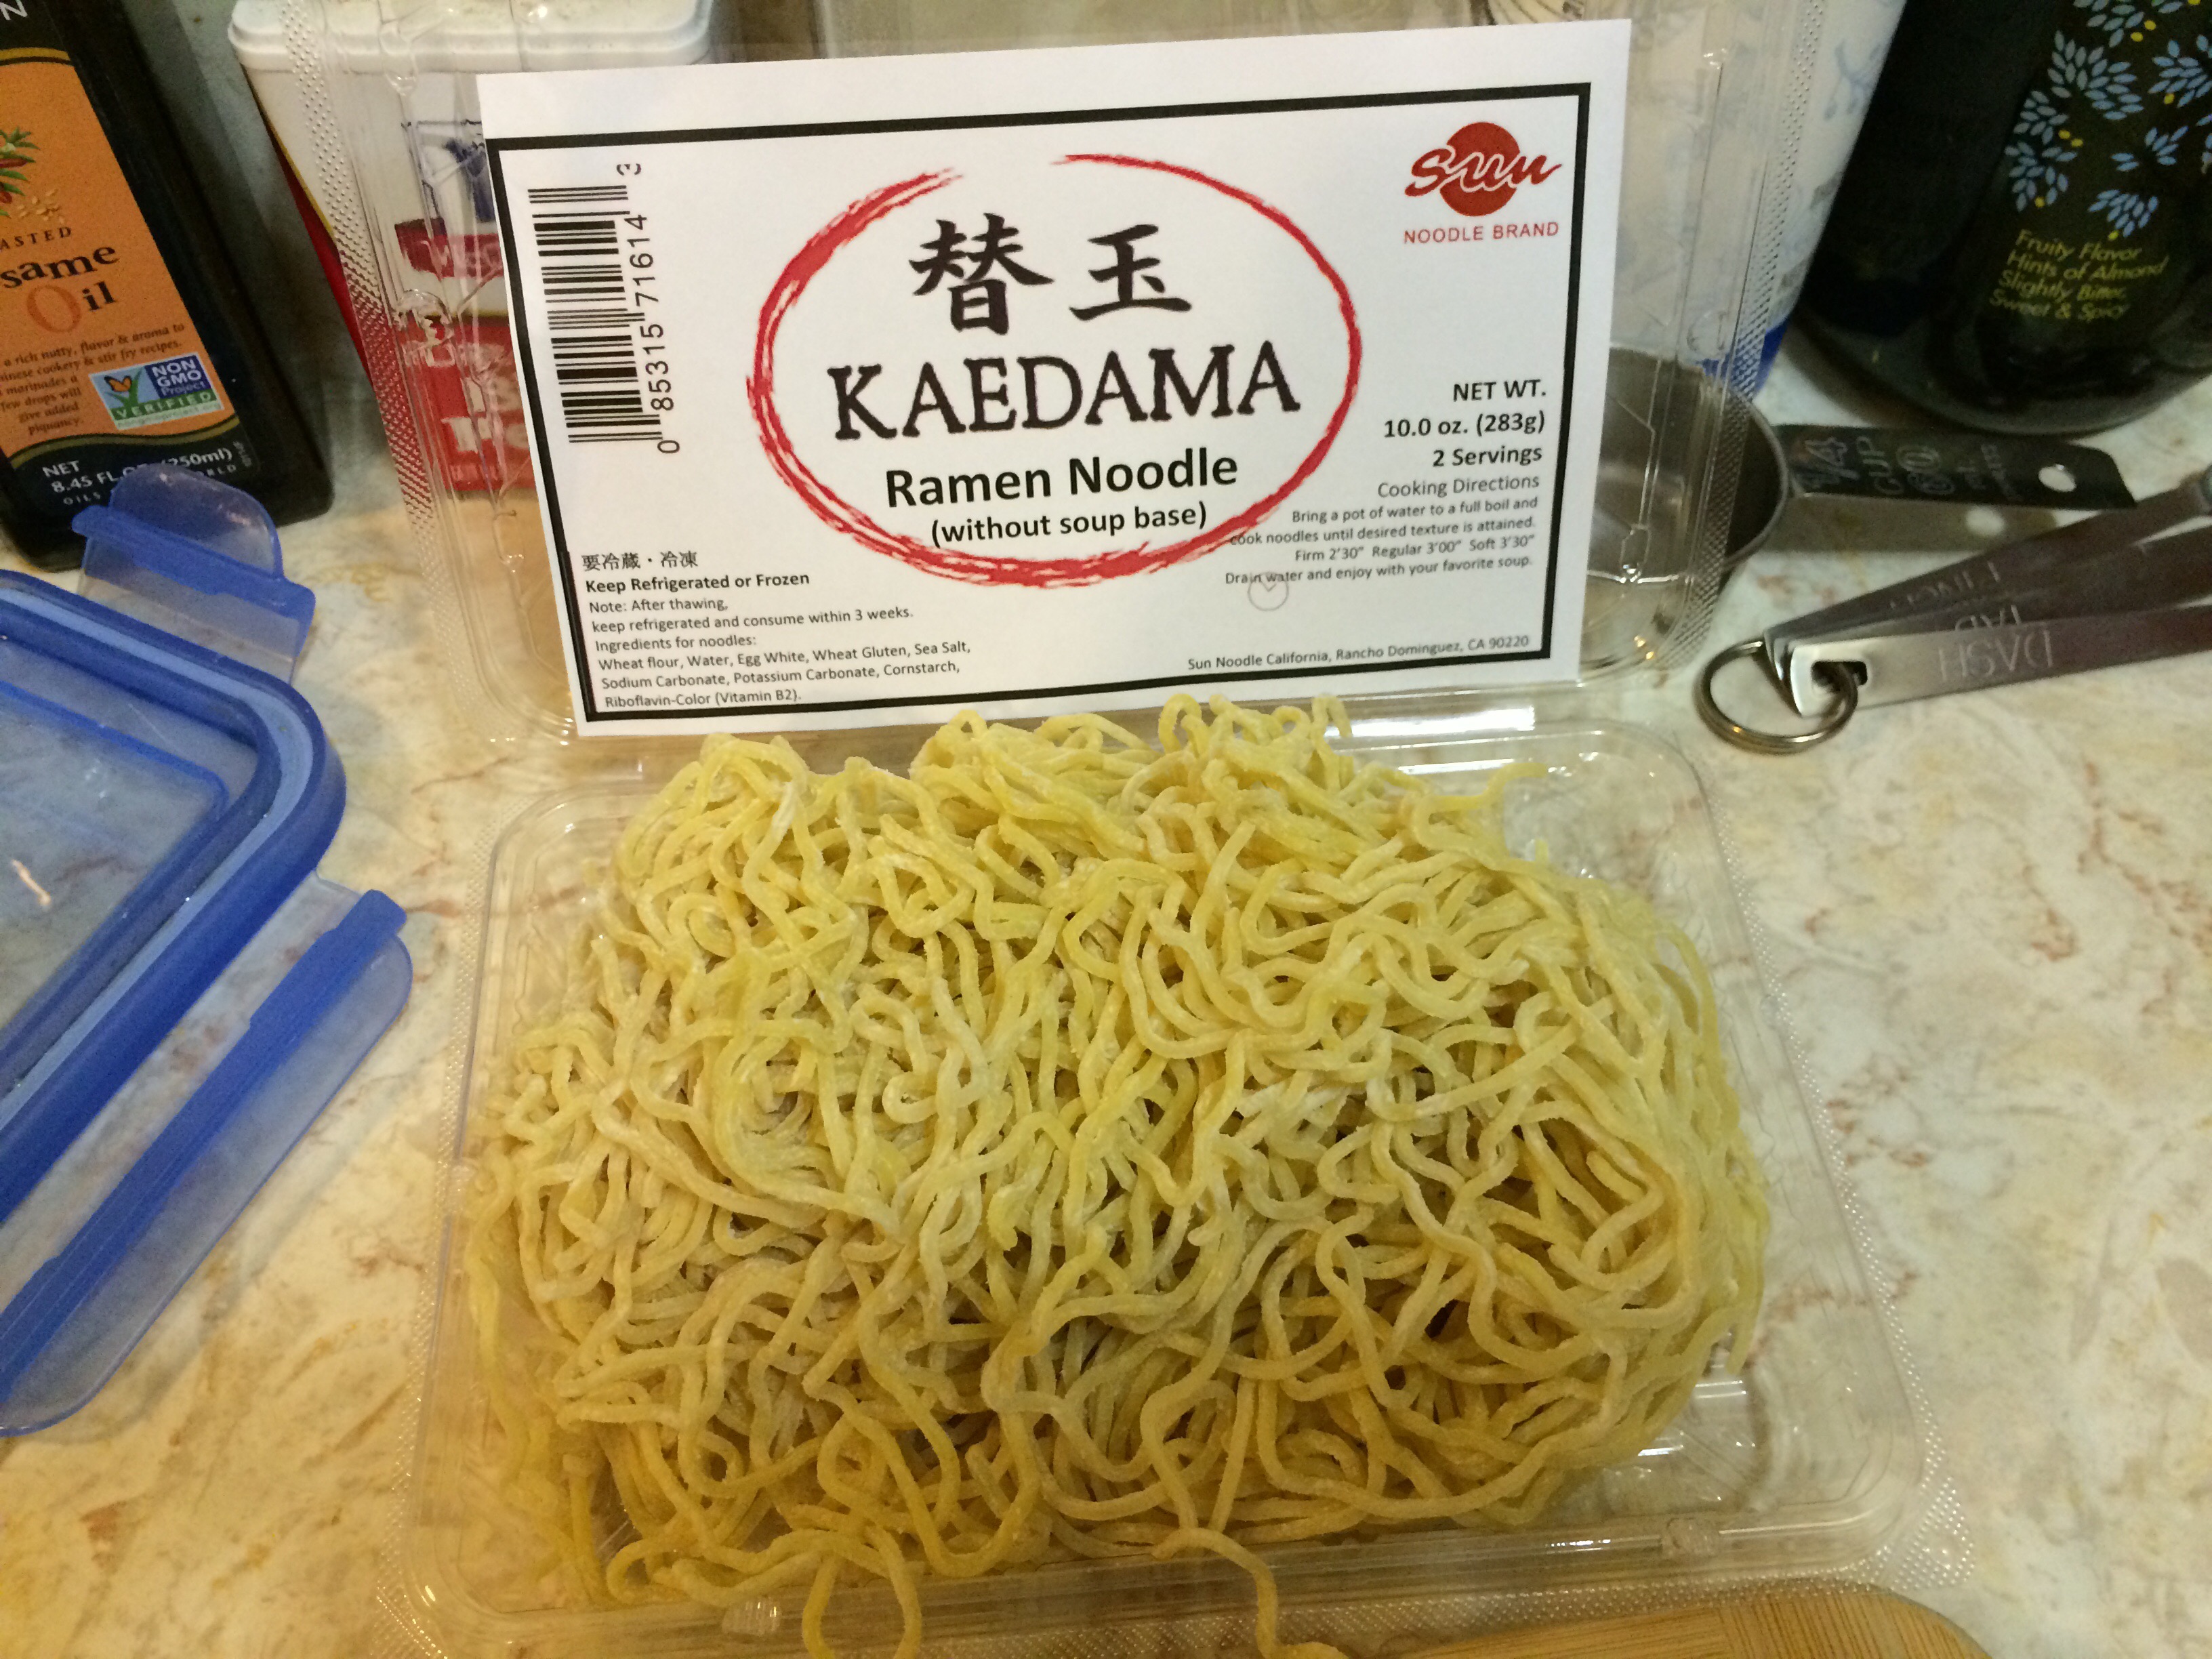
- Fresh Sun ramen noodles
FINAL PRODUCT
We used 1 tablespoon of tare per 1 ladle-full of broth. This bowl has 4 tbsp tare, 4 ladles of broth.

- Worth the wait, exceeded all expectations

Thank you so much for this exhaustive post! I make miso ramen at home all the time because the bone broths scare me and all the local ramen places suck. I recently visited Japan again and just can not stop thinking about all the delicious tonkotsu I ate and finally have the itch to try it out myself. If anything, just to try and figure out why it’s so difficult for any US restaurant to get it right but I walked into any hole-in-the-wall in Tokyo and it was always unbelievably delicious.
Anyway, TL;DR I’m excited to try his recipe with your additional guidance and tips! 🙂
LikeLiked by 1 person
How do you prevent things from sticking to the pot when it’s boiling for so much time. Did you use a special kind of pot? I found, even when stirring every two hours, some things would start to stick to the bottom.
LikeLike
Hi Larry, I don’t use any special kind of pot – just a pretty economy-grade stainless steel stock pot. Do you have enough liquid and enough agitation going? I have not had any problems with sticking!
LikeLike